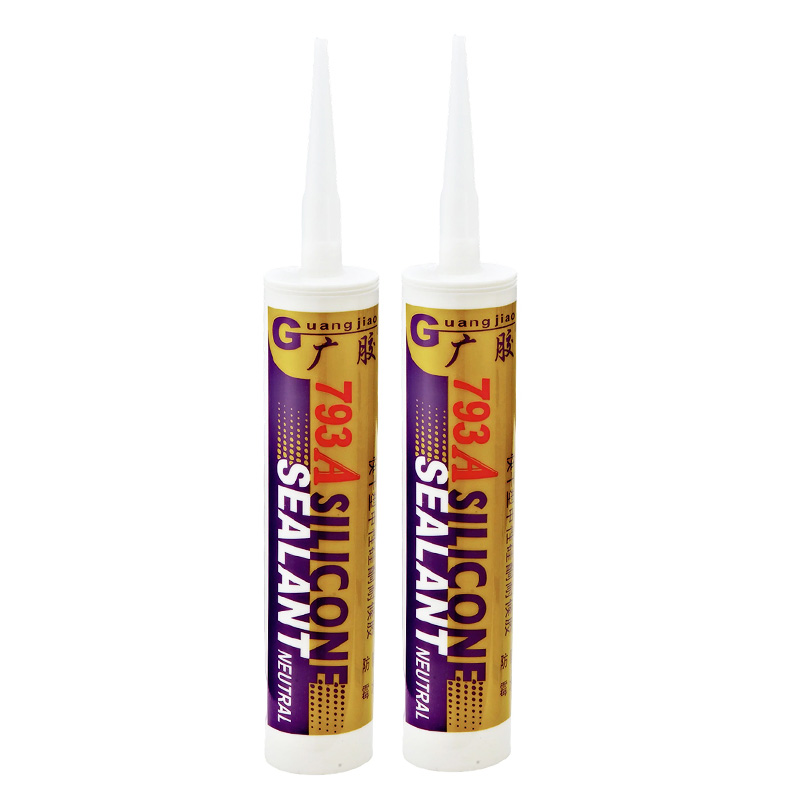
Content
Whether you are retiling a bathroom, sealing around a kitchen sink, or waterproofing a tub surround, choosing the right interior decoration silicone sealant can determine whether your renovation holds up for a decade or starts showing cracks and mold within a year. This guide covers everything you need to know — from formulation differences to application techniques — so every bead you lay does its job properly.
Not all sealants are created equal. Acrylic, latex, polyurethane, and silicone each have a place, but for wet indoor environments, silicone consistently leads the field. Here is why professionals reach for it first:
The trade-off is paintability — standard silicone cannot be painted over. Where an aesthetic match to a painted wall is required, a paintable hybrid sealant or a silicone-latex blend may be a better choice, though neither matches pure silicone in moisture resistance.
The term "silicone sealant" covers a family of products. Understanding the subtypes prevents costly mismatches between product and project.
The curing chemistry affects both the smell during application and the long-term compatibility with your substrate.
Formulated specifically for wet rooms, these products incorporate fungicides throughout the silicone matrix — not just on the surface. Independent accelerated aging tests using ASTM G21 protocol show that quality anti-mold silicone suppresses fungal colonies for up to five years under continuous moisture exposure, whereas untreated silicone shows visible mold colonization within 6–18 months in a bathroom environment.
Modulus refers to the force required to stretch the cured joint. Low-modulus silicone (sometimes called LM or soft-set) is more flexible and works best where substrates move independently — expansion joints in large-format tile floors, around freestanding bathtub rims, and joints between dissimilar materials like tile meeting a wooden vanity. High-modulus silicone is stiffer and better suited to static joints where dimensional movement is minimal.
Each indoor location presents different mechanical, chemical, and aesthetic challenges. The right choice depends on the specific combination of substrate, movement, and moisture level.
Tiled surfaces are among the most common targets for silicone sealant indoors. Grout fills the field joints, but movement joints — where planes change direction, where tiles meet a different material, or perimeter joints around a room — require a flexible sealant. silicone sealant for tiles should be chosen based on three criteria:
The under-mount and top-mount kitchen sink joint is one of the most mechanically stressed seals in the home. A fully loaded sink can weigh 30–80 kg including water, and daily temperature swings between cold tap water and near-boiling rinsing water cycle the joint continuously. A high-performance silicone sealant for kitchen sink applications must provide:
Application tip: For undermount sinks, apply the sealant to the rim of the sink — not the countertop cutout — and set the sink into position within 10 minutes of application. This reduces air pockets and ensures full contact across the perimeter.
The joint where a bathtub drain meets the tub floor is a small but critical seal. Water that bypasses this joint can saturate the subfloor, leading to structural damage costing thousands to remediate. A proper silicone sealant for tub drain application involves selecting a product rated for constant water immersion — not just splash resistance — and applying it in conditions where the tub surface is bone dry. Even 2–3% residual moisture on the substrate can reduce final bond strength by up to 40%, according to adhesion data from materials laboratories.
Key considerations for tub drain sealing:
Wet areas — showers, wet rooms, steam rooms, and pool surrounds — impose the most extreme demands on any sealant. The combination of constant moisture, thermal cycling, cleaning chemicals, and occasional physical impact means only the highest-specification products are appropriate. For these applications, choose a product explicitly rated as a silicone sealant for wet areas, not a general-purpose product repurposed for a bathroom. Key specifications to check:
Even the best sealant fails if applied incorrectly. The following process applies to most indoor joint sealing tasks. Deviating from any step — especially surface preparation — is the single most common cause of premature sealant failure.
Surface preparation accounts for the majority of sealant failures in residential renovation. A 2022 survey of remediation contractors found that 68% of failed silicone joints showed evidence of inadequate surface preparation — contamination by soap film, residual old sealant, or surface moisture — rather than product deficiency. Here is what preparation actually involves:
Even experienced DIYers repeat the same errors. The table below summarizes the most frequent problems, their root causes, and the corrective action.
One of the most misunderstood aspects of silicone sealant is the difference between when it feels dry and when it is actually cured through its full depth.
As a practical rule: apply on day one, do not use the shower or sink until day two at the earliest in warm weather, and wait a full three days in winter conditions or for joints thicker than 8 mm.
A technically perfect sealant joint that clashes with the surrounding tiles or fixtures undermines the quality of the finished renovation. Most professional-grade interior silicone ranges offer 20–50 standard colors, and some manufacturers provide custom color matching for large projects. Consider these principles when selecting color:
Even the best-applied sealant requires periodic inspection and basic maintenance to reach its maximum service life.
Inspect all silicone joints in wet areas at least twice per year. Look for:
Aggressive cleaning products significantly shorten silicone service life. Avoid:
A dilute neutral pH cleaner applied with a soft cloth, followed by a water rinse and drying, is all that is needed for routine maintenance.
Applying new silicone over old — without full removal — almost always results in failure. If more than 20% of a joint shows adhesion loss or deep mold penetration, full removal and reapplication is the correct approach, not patching. Proper removal takes 2–4 hours on a standard bathroom; the extra effort produces a result that lasts years longer than a patch.
Full-length and bathroom mirrors are typically bonded with mirror adhesive, but the perimeter joint is sealed with silicone. Only neutral-cure silicone is appropriate here — acetoxy products release acetic acid directly onto the mirror's silver or aluminum reflective backing, creating black edge rot (a process called desilvering) that cannot be reversed. Neutral-cure silicone, applied to a dry, clean frame edge, protects the mirror perimeter without chemical attack.
Floors with embedded electric or hydronic heating systems experience significant thermal cycling — potentially 30–40°C range swings multiple times daily. This movement, transmitted through the tile layer, stresses perimeter and movement joints far more than in an unheated floor. For these applications, select a low-modulus silicone rated to at least 120°C surface temperature. Standard sealants rated only to 80°C may soften and lose tack under sustained radiant heating conditions.
Movement joints are occasionally installed over existing grout during a refurbishment rather than during the original tiling. If the grout in the intended joint location is sound, rake it out to a minimum depth of 6 mm using a grout saw and vacuum the debris before applying sealant. If grout is left in the base of the joint, the sealant bonds to three surfaces (both tile sides and the grout bottom) instead of two, creating a three-point bond that restricts movement and causes cohesive failure in the sealant body. Always insert a foam backing rod in deep joints to control sealant depth.
A frequently overlooked consideration in renovation is the effect of sealant off-gassing on indoor air quality, particularly in smaller bathrooms and kitchens with limited ventilation.
As a practical guide: open windows, run the bathroom fan, and avoid sleeping in the sealed room on the first night after application. By the following day, all noticeable odor should have dissipated.
In almost all cases, no. Silicone does not form a reliable bond to cured silicone unless you are using a product specifically formulated for silicone-on-silicone adhesion, which is a niche product. In standard renovation scenarios, always remove the old sealant completely — including chemical residue — before applying fresh material. Applying over old sealant traps contamination at the bond line and leads to early delamination, usually within one to three months.
Use a plastic scraper rather than a metal tool to lift the bulk of the sealant. Follow up with a proprietary sealant remover solvent — allow the recommended dwell time before wiping. For stubborn residue, a small amount of acetone on a cloth can dissolve silicone without scratching glazed ceramic or porcelain. Do not use steel wool, metal scrapers, or abrasive pads on glazed surfaces, as these create permanent micro-scratches that are difficult to see but accumulate dirt and mold over time.
The black discoloration on bathroom silicone is mold growth — specifically fungal colonies establishing on the surface and within micro-crevices of the sealant. Surface mold (not yet penetrating the sealant body) can sometimes be removed with a dilute bleach solution applied under cling film for two to three hours. However, if the mold has penetrated to the sealant core or the discoloration returns within weeks of treatment, full removal and replacement with an anti-fungal silicone sealant is the only permanent solution.
The standard recommendation from tile industry guidelines (including ISO 13007 series) is that movement joints — where silicone sealant is used — should be a minimum of 6 mm wide and a maximum of 20 mm wide for most residential applications. Joint width should equal joint depth for optimal performance, though a foam backing rod is used in deeper joints to control sealant depth. In large-format tile installations (tiles over 600 mm), movement joints should be placed every 3–4.5 m across the floor and at every internal corner.
Yes, provided the product's formulation is food-safe once cured, which most reputable sanitary silicones are. The anti-fungal additives that make a bathroom mildew-resistant sealant effective are equally useful in a kitchen, where food splatter and grease combined with moisture around the sink and backsplash create ideal conditions for mold growth. Verify the product data sheet states the cured sealant is safe for incidental food contact if it will be used immediately adjacent to food-preparation surfaces.
A standard silicone sealant contains no biocidal additives and will support mold growth on its surface within months in a humid bathroom environment. A mildew-resistant or anti-fungal silicone incorporates fungicide compounds blended throughout the silicone matrix. This means the protection is not limited to the surface but is present through the full depth of the cured joint. The difference in practical performance is significant: independently tested anti-fungal silicones typically maintain a mold-free surface for three to five years in a standard bathroom, versus six to eighteen months for untreated products in the same conditions.
Yes, significantly. Silicone cures through a reaction with moisture in the air, and both temperature and relative humidity affect the rate. At 20°C and 50% relative humidity, most silicones reach full through-cure in 24–48 hours. At 10°C and 30% humidity — typical of a poorly heated bathroom in winter — the same bead may take 72–96 hours to fully cure. Always check the application temperature range on the product label; applying below 5°C is not recommended for most products, as cure may be so slow that the sealant remains vulnerable to displacement before it sets.
Subscribe to our newsletter
Product
Quick Links
contact Us
No. 9, 2nd Road, Huicheling Industrial Park, Heping Town, Changxing County, Huzhou City, Zhejiang Province, China
+86-572-6550355
+86-17769681106
 English
 Français
 Español