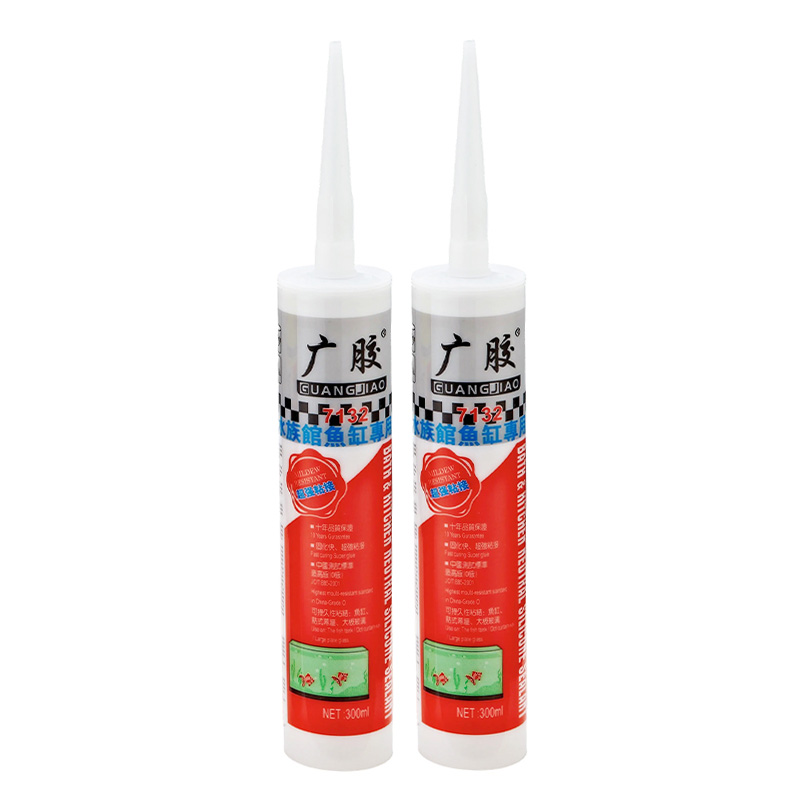
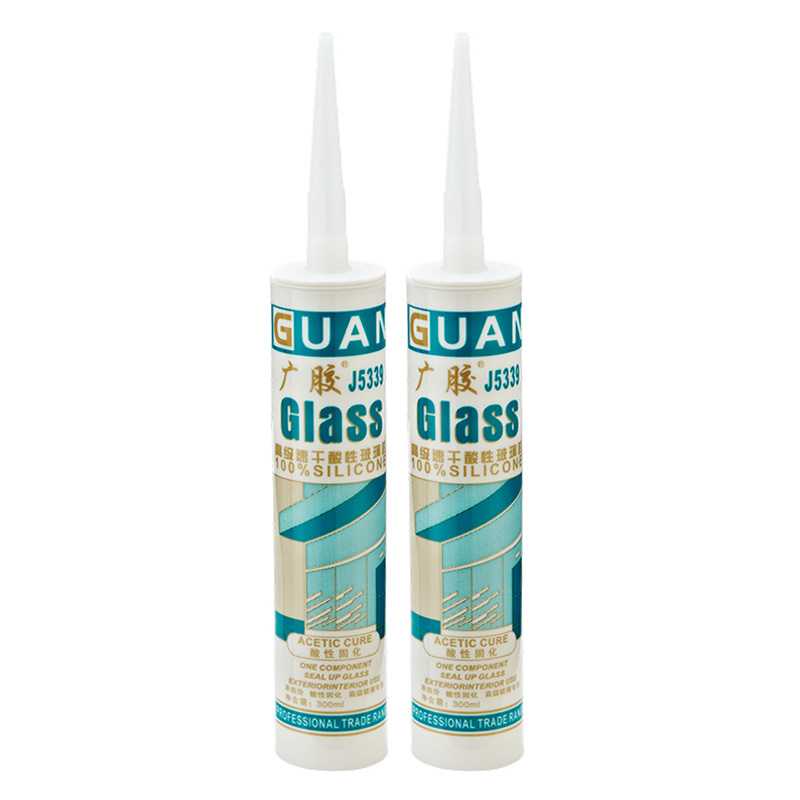
Content
Creating a flawless, watertight finish around sinks, bathtubs, and trim requires more than just squeezing a tube. Mastering the bead starts with understanding how interior decoration silicone sealant behaves, bonds, and cures. This guide walks you through every step, from surface preparation to advanced tooling, so you can achieve crisp, durable joints that look professional and last for years.
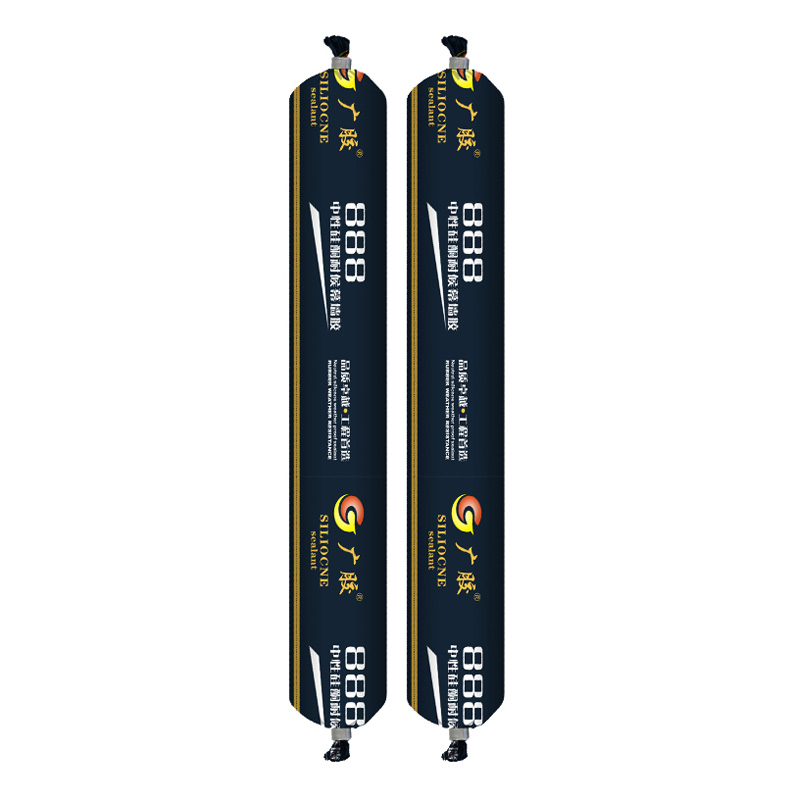
Interior decoration silicone sealant is a single-component, room-temperature vulcanizing material designed specifically for joint filling and bonding in living spaces. Unlike general-purpose caulks, it remains permanently flexible after curing, accommodating the natural expansion and contraction of building materials caused by temperature and humidity changes. Its typical elongation at break exceeds 300%, which means a properly applied bead can stretch to three times its original width without tearing away from the substrate.
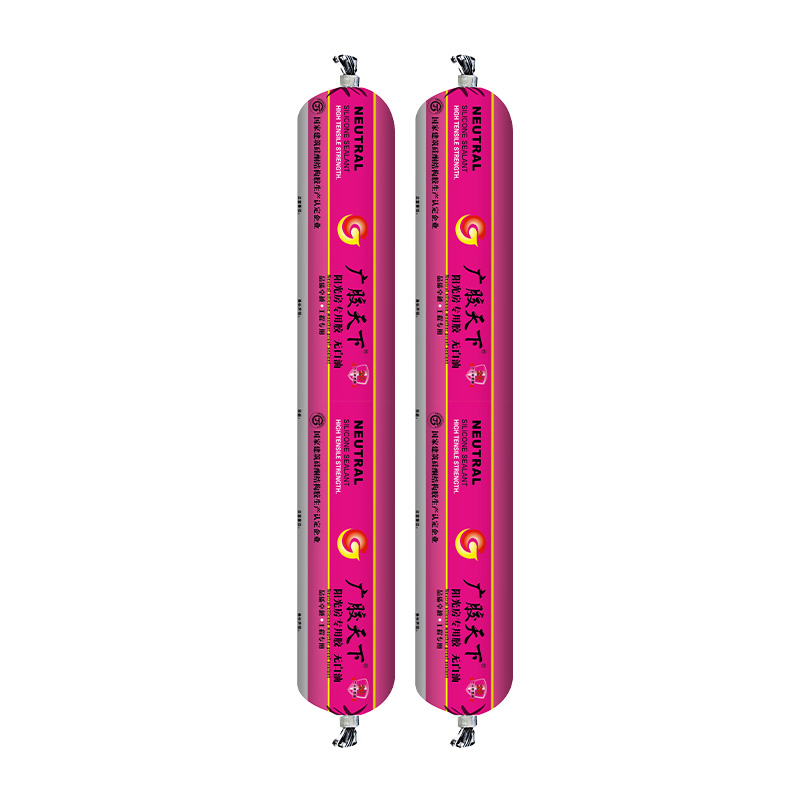
The formulation most suitable for interiors uses a neutral cure system that releases alcohol or non-corrosive byproducts during vulcanization. This prevents the discoloration of sensitive surfaces such as natural stone, coated metals, and painted trims. A key advantage is its adhesion to non-porous substrates: glass, ceramic, powder-coated aluminum, and many plastics bond without a separate primer when the surface is clean and dry.
Data from laboratory pull-off tests show that on cleaned glass, a typical interior decoration silicone sealant can achieve an adhesive strength between 0.8 MPa and 1.5 MPa. For context, a continuous 6 mm bead along a ceramic basin can support a shear load exceeding 20 kg once fully cured. These values confirm why it has become the standard for sealing expansion joints in kitchens and bathrooms.
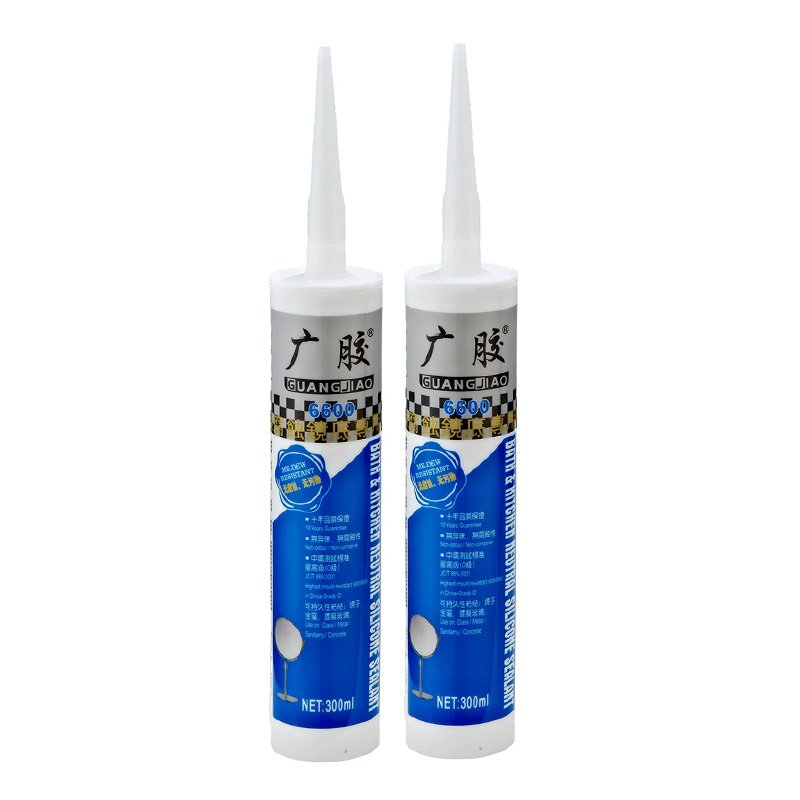
Selecting a product begins with the substrate pair and the expected movement. For joints between a ceramic tile backsplash and a granite countertop, a neutral-cure, high-movement silicone is mandatory. Acetoxy (vinegar-smell) sealants can etch the stone's polished surface permanently. For painted wood to glass, a silicone with enhanced paintability is not available; instead, the joint must be designed to remain exposed, and the product must offer UV resistance if near a window.
Viscosity also affects application control. High-viscosity formulations (often labeled as non-slump) can be applied on vertical joints without sagging, a critical feature when working on wall corners. Low-viscosity products flow more readily into narrow cracks but require careful masking to avoid spreading.
Beyond the cartridge or squeeze tube itself, the right accessories transform the result. A silicone caulking tool with interchangeable silicone pads creates consistent concave profiles without pulling the bead away from the edges. Invest in a set that includes 3 mm, 5 mm, and 8 mm radius corners to match common joint dimensions.
Proper application determines both the visual quality and the seal’s longevity. Follow this sequence to how to apply silicone sealant with minimal waste and maximum adhesion.
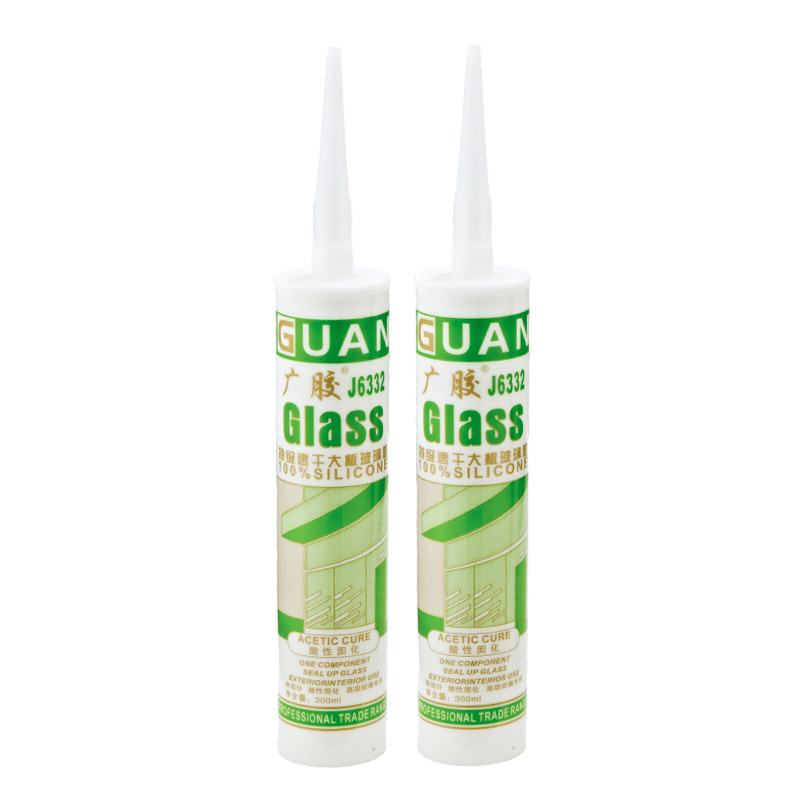
When working with a squeeze tube format or a small repair, the technique changes. Without the mechanical advantage of a gun, consistent pressure depends on hand placement and tube temperature. Warm the tube silicone sealant by rolling it between your palms for 60 seconds; this lowers viscosity and allows smoother extrusion.
A smooth, concave joint resists dirt accumulation and water pooling. The technique known as tooling compresses the sealant against the substrate edges, improving contact and adhesion. Several methods deliver different aesthetic outcomes:
| Tooling Method | Profile Achieved | Best Used For |
|---|---|---|
| Profiling spatula with radius | Perfect concave, uniform width | Long, visible joints; kitchen counters |
| Finger dipped in soapy water | Slightly irregular, organic shape | Small touch-ups; inside corners |
| Plastic spoon back | Smooth, shallow concave | Curved surfaces; shower trays |
| Caulking tool set (interchangeable pads) | Repeatable profile across joints | Large area tiling projects |
Regardless of the tool, the motion must be continuous from one end of the joint to the other. Stopping and restarting creates ridges that are difficult to remove once the surface has begun to skin over. For joints longer than 1.2 meters, plan an uninterrupted pass or use a partner to feed the sealant ahead of your tooling.
Cure time depends on humidity, temperature, and bead thickness. The skin formation begins in 5-15 minutes at 23 degrees Celsius and 50% relative humidity. Full depth cure proceeds at a rate of roughly 2-3 mm per 24 hours under these standard conditions. A 6 mm thick bead therefore requires approximately 48-72 hours to cure completely through its entire cross-section.
Moisture-starved environment slows vulcanization. Cure can extend to 5-7 days for 6 mm bead. Increase room humidity with a humidifier or by placing open water containers nearby.
Predictable cure depth. A 6 mm joint is fully cured in 2-3 days. Light misting of the bead with water after skinning can accelerate deep cure without causing washout.
Accelerates surface skinning but may trap moisture at the interface if substrates were damp. Ensure bone-dry surfaces before application.
When project timelines demand quick turnaround, fast curing silicone sealant formulations reduce the waiting period significantly. These products typically achieve a tack-free surface in under 10 minutes and can reach full 6 mm depth cure in as little as 24 hours. The trade-off usually involves a shorter working time: the open time before tooling may shrink to 1-3 minutes, requiring swift, confident application.
Fast cure versions are ideal for repair jobs in occupied bathrooms, where the area must be returned to service quickly. However, they often exhibit a slightly higher Shore A hardness (25-30 versus 15-20 for standard flexible grades), which makes them less suitable for joints with extreme movement. They also tend to have stronger initial odor due to accelerated cross-linking reactions; good ventilation remains essential.
For challenging areas such as shower niches, window returns, and integrated sinks, standard tooling may not suffice. A two-stage approach yields exceptional results: first, apply a thin backing bead and let it cure completely (24 hours) to form a flexible bridge. Then apply the cosmetic top bead over it. This isolates the visible sealant from substrate movement and prevents the tear that often appears at the bond line.
Color matching is another professional touch. Many interior decoration silicone sealants are available in translucent, white, and a range of standard colors. For bespoke shades, it is possible to mix fully cured silicone crumbs from the same formula into clear sealant to create custom accents—though this requires patience and thorough blending to avoid weak spots.
Pro Insight: Always cut the nozzle thread slightly longer than you think you need. An undersized opening forces higher extrusion pressure and can lead to hand fatigue, while an oversized opening makes it difficult to control bead width on fine joints.
Uncured silicone can be removed with dry cloth followed by isopropyl alcohol. Once cured, mechanical removal is the only option. Protect the fresh bead from water immersion for at least 24 hours, even if the surface feels dry. For bathrooms, advise occupants to avoid direct water spray for 48 hours. The bead can be exposed to humidity, but pressurized water can dislodge a partially cured sealant.
Regular maintenance extends joint life: wipe the silicone with a mild detergent solution every three months to prevent mold growth, especially in the textured surfaces of tooled joints.
Wait a minimum of 24 hours for fast cure products and 48-72 hours for standard grades, provided the bead thickness does not exceed 6 mm. Check the manufacturer's specified full-cure time and add 12 hours if humidity is low.
Not recommended. Fresh silicone does not reliably bond to cured silicone. The old sealant must be completely removed mechanically, and the surface cleaned with alcohol before new application.
For most interior decoration joints, a width of 5-6 mm provides a balance between appearance and movement accommodation. Joints narrower than 3 mm are difficult to tool smoothly, while those exceeding 10 mm may require backer rod insertion.
Cracking usually indicates that the bead was too thin for the joint movement, or that the sealant did not achieve adequate adhesion. Ensure the joint is clean, dry, and that you use a product with high elongation at break (over 300%) for dynamic cracks.
This requires experience, but using a high-viscosity non-slump sealant and a steady bracing hand helps. A plastic profiling tool with a defined edge can follow a straight grout line or a guide rail temporarily adhered to the surface as a reference.
Subscribe to our newsletter
Product
Quick Links
contact Us
No. 9, 2nd Road, Huicheling Industrial Park, Heping Town, Changxing County, Huzhou City, Zhejiang Province, China
+86-572-6550355
+86-17769681106


 English
 Français
 Español